内容目录
elementPlus popover的高度以及自适应位置
设置高度
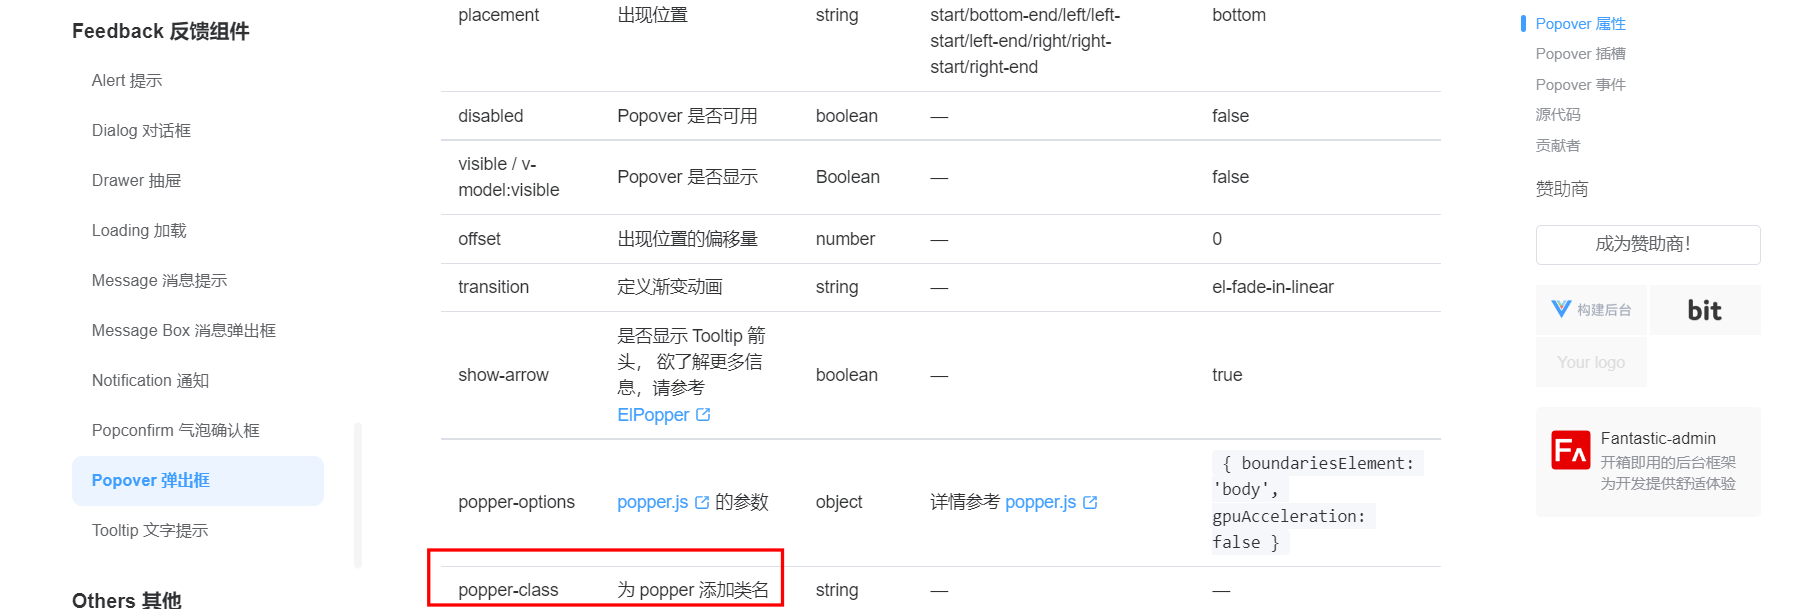
借助popper-class属性,

当 Popover 弹出框的位置接近边界时,应该自动切换到相反的方向进行显示,核心::fallback-placements="['bottom', 'top', 'right', 'left']"
  <el-row :gutter="24">
          <el-col :xs="24" :sm="24" :md="24" :lg="12" :xl="12">
            <el-form-item label="菜单图标" prop="icon" label-width="100px">
              <el-input v-model="menuForm.icon" disabled>
                <template #append>
<!--                  element plus 的popover组件如何去自适应位置-->
<!--                  :fallback-placements="['bottom', 'top', 'right', 'left']"当 Popover 弹出框的位置接近边界时,应该自动切换到相反的方向进行显示-->
<!--                  popper-class添加最大高度,超过出现滚动条-->
                  <el-popover placement="bottom" :width="400"  trigger="click"
                              popper-class="max-h-300px overflow-auto"
                              :fallback-placements="['bottom', 'top', 'right', 'left']">
                    <template #reference>
                      <el-button :icon="Aim"/>
                    </template>

                    <el-tabs v-model="activeName" class="demo-tabs" @tab-click="handleClick">
                      <template v-for="i in iconsTabArr">
                      <el-tab-pane :label="i" :name="i">
                        <el-row>
                          <el-col :xs="6" :sm="6" :md="4" :lg="3" :xl="3" v-for="item in icons" :key="item.id">
                            <div class="text-center  cursor-pointer transition-all duration-100 hover:( bg-purple-800 text-gray-50)" @click="selectIcon(item.value)">
                              <i :class="item.value" class="ri-2x"></i>
                            </div>
                          </el-col>
                        </el-row>
                      </el-tab-pane>
                      </template>
                    </el-tabs>
                  </el-popover>
                </template>
              </el-input>
            </el-form-item>
          </el-col>
        </el-row>
- 1
- 2
- 3
- 4
- 5
- 6
- 7
- 8
- 9
- 10
- 11
- 12
- 13
- 14
- 15
- 16
- 17
- 18
- 19
- 20
- 21
- 22
- 23
- 24
- 25
- 26
- 27
- 28
- 29
- 30
- 31
- 32
- 33
- 34
popper-class="max-h-300px overflow-auto"这个class属性我是借助windcss,包括剩下的class属性我都是借助这个类库,如果你没安装这个,你只需要补充以下样式即可
<style scoped>
.max-h-300px {
  max-height: 300px;
}
.overflow-auto {
  overflow: auto;
}
</style>
- 1
- 2
- 3
- 4
- 5
- 6
- 7
- 8


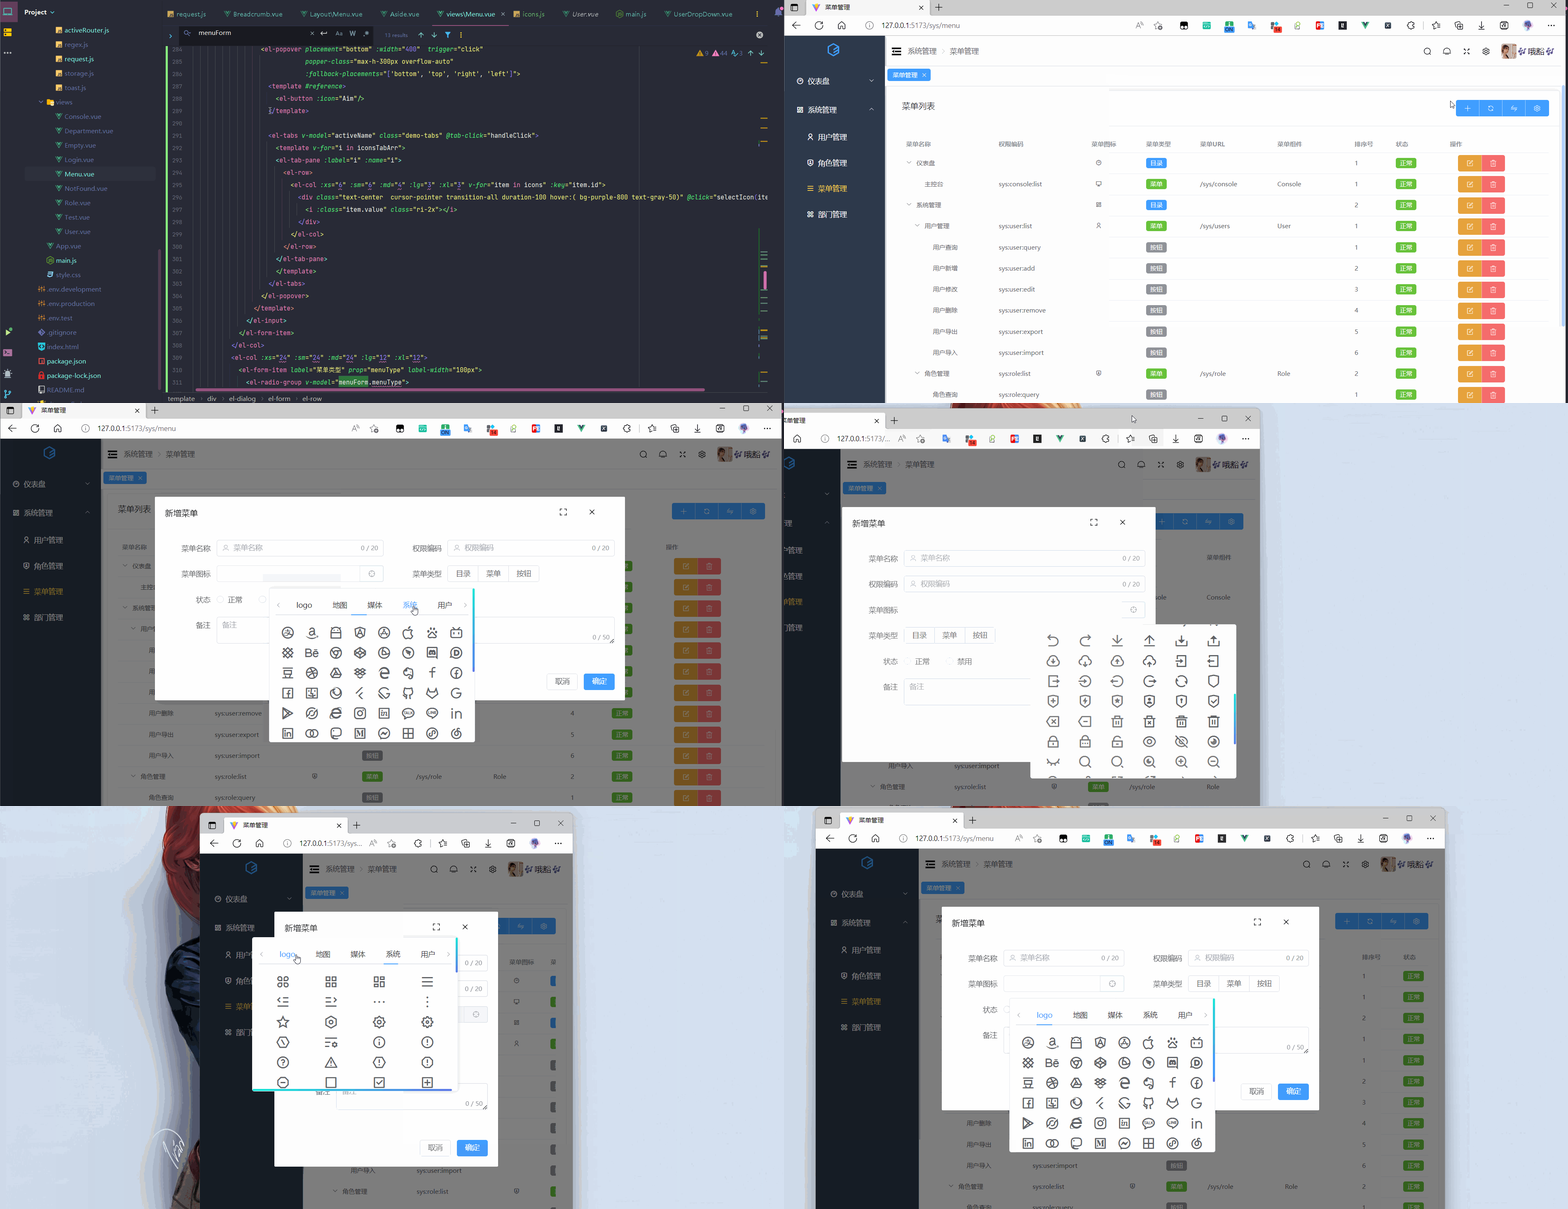
演示:


